
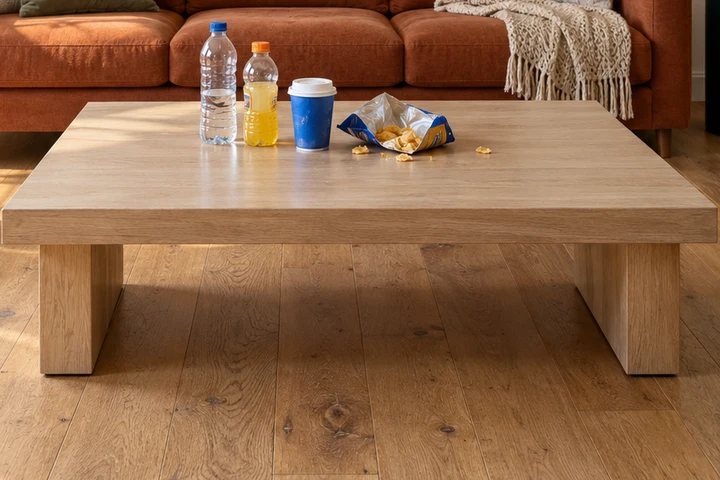
 ORIGINAL
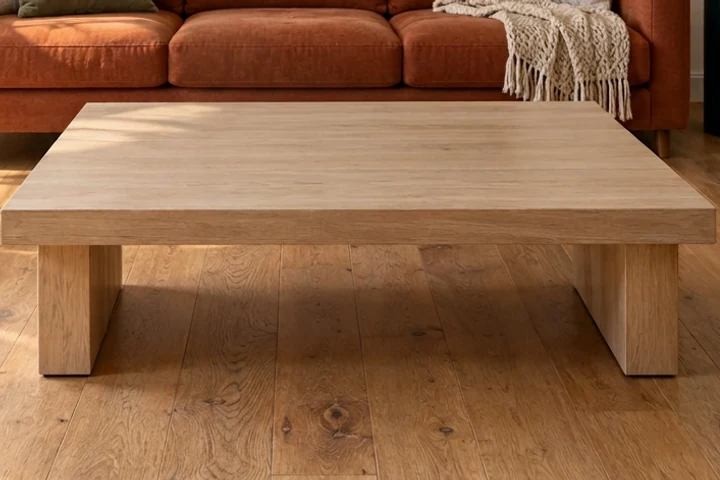 AI EDIT
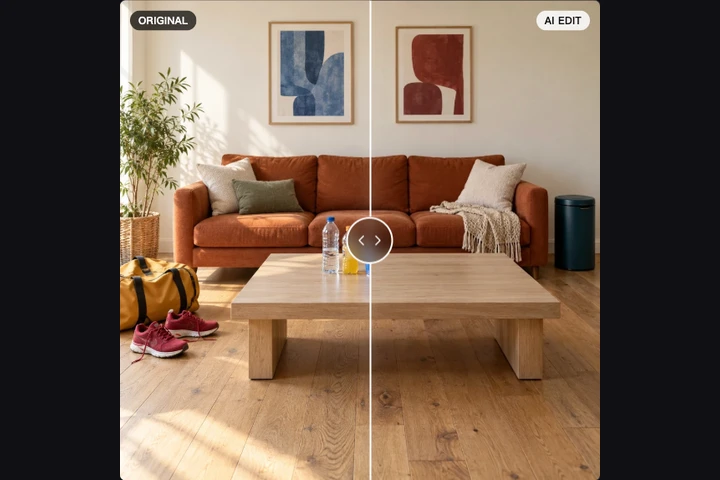
A clear table, with the table kept
Clear bottles, cups and loose packaging from a tabletop. Check the wood grain and front edge after the fill. This preset keeps the furniture; it does not turn the room into an empty interior.
LESS CLUTTER. MORE OF YOUR PHOTO.
Remove Object from Photo clears clutter and fills the gap. Upload a photo, pick what goes or describe an object, then compare the edit.
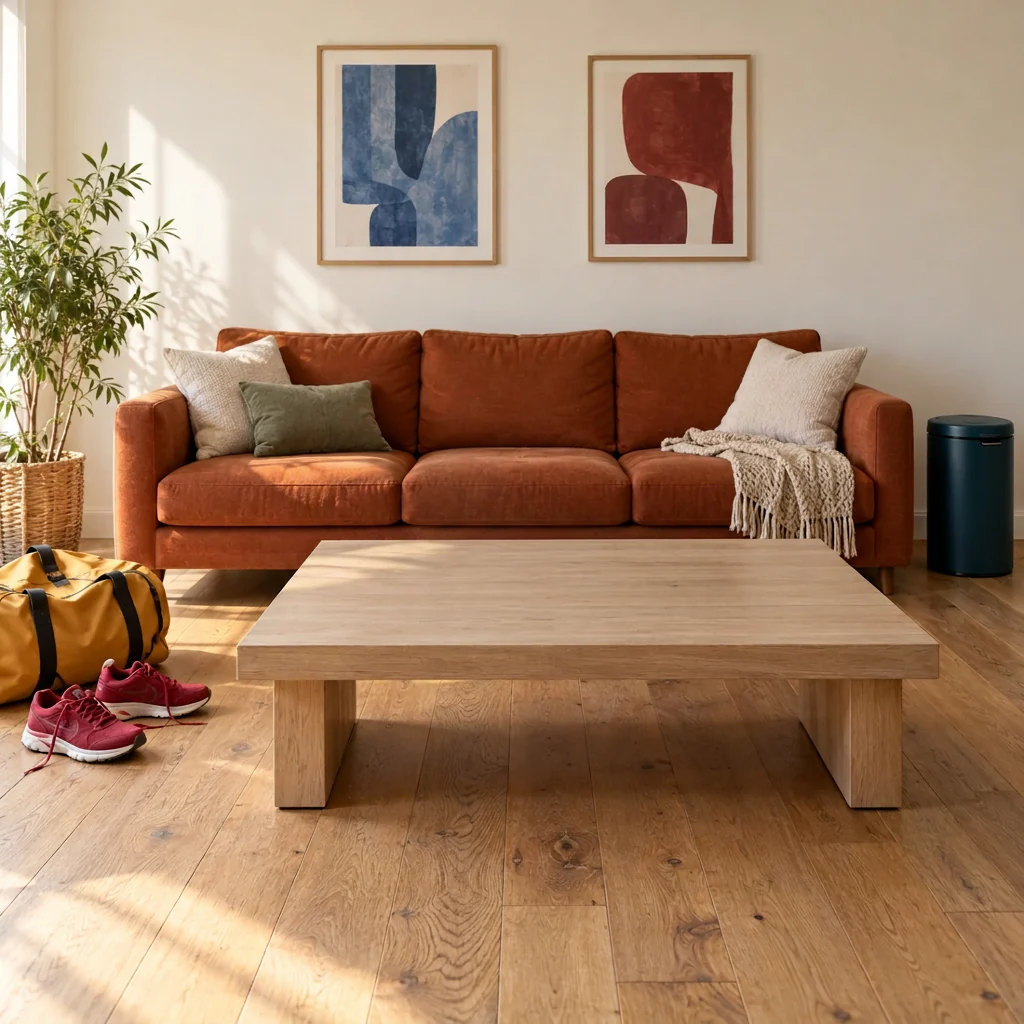
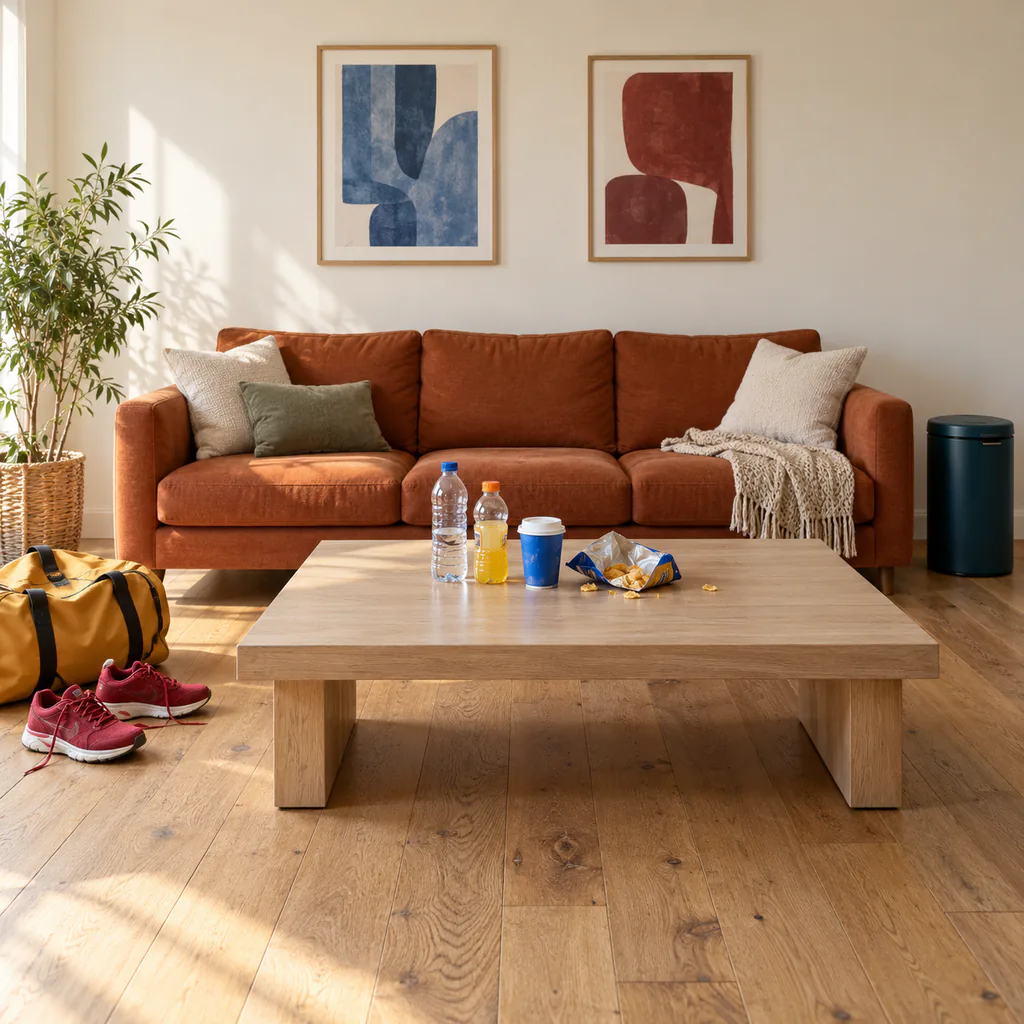
Your edited photo will appear here
SMALL EDITS, VISIBLE DIFFERENCES
These close-ups show the original room and actual AI edits made with the matching presets. Look at what disappeared, then check the surface underneath. Other parts of the photograph can also change slightly.
ORIGINALAI EDITClear bottles, cups and loose packaging from a tabletop. Check the wood grain and front edge after the fill. This preset keeps the furniture; it does not turn the room into an empty interior.
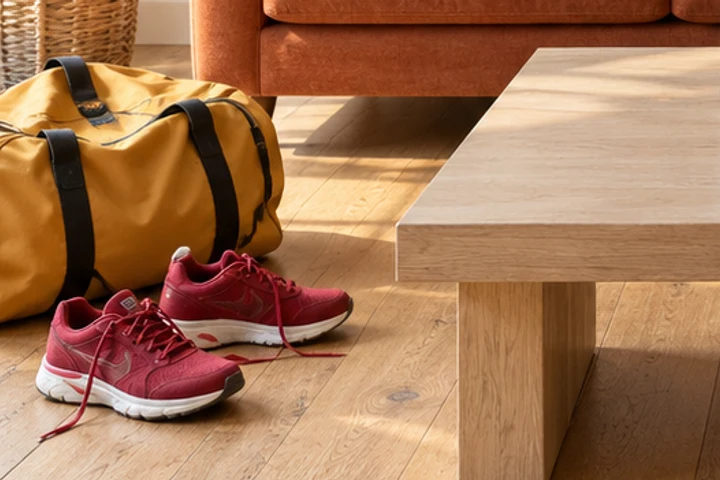 ORIGINAL
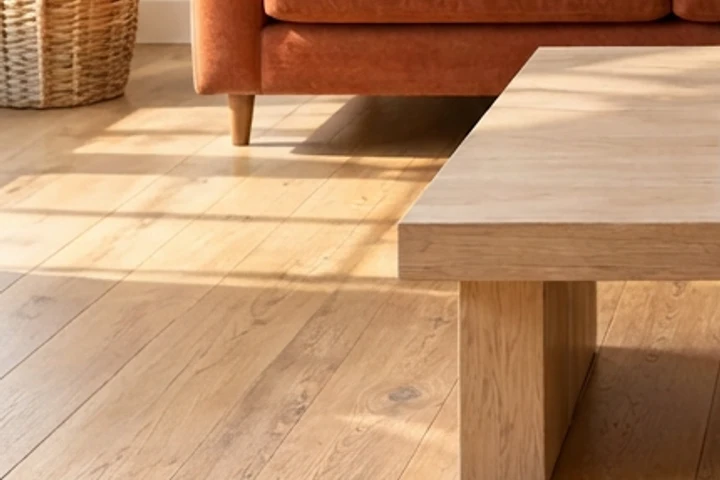 AI EDIT
Take loose floor clutter out of a room photo while retaining the sofa and plant. Floorboards should continue in the same direction. Small grain changes are possible, so inspect the joined area before sharing.
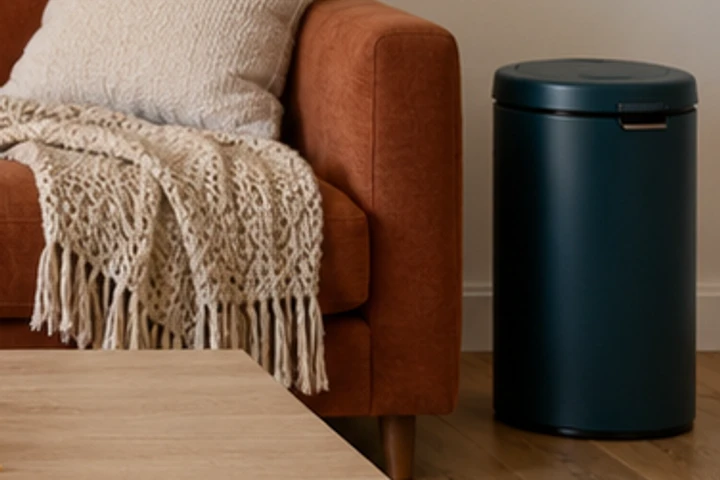 ORIGINAL
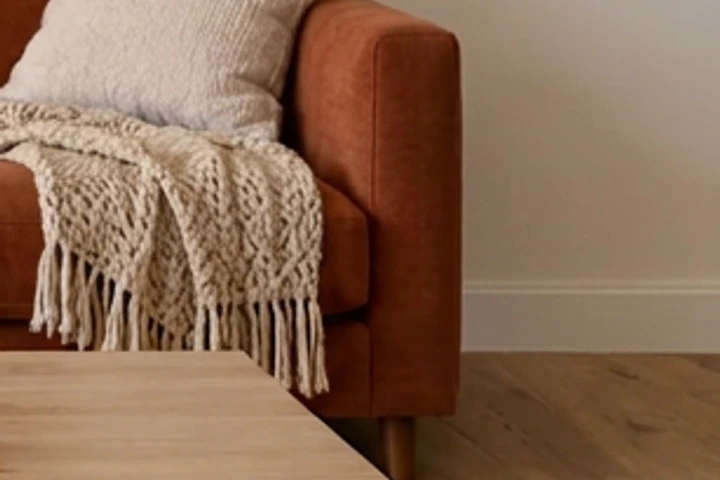 AI EDIT
Remove a waste bin and review the wall-to-floor join behind it. This is a targeted cleanup: nearby furnishings should remain. AI estimates the hidden space, so the result may need another attempt or a precise manual touch-up.
UPLOAD. CHOOSE. COMPARE.
Start with a sharp original and one clear removal target. The tool guides you through the edit on one screen.
01
Drop in a JPG, PNG or WebP, paste an image, or try the sample. Keep enough of the surrounding wall, floor or tabletop visible to guide the fill. Uploading and choosing a preset work before sign-in.
02
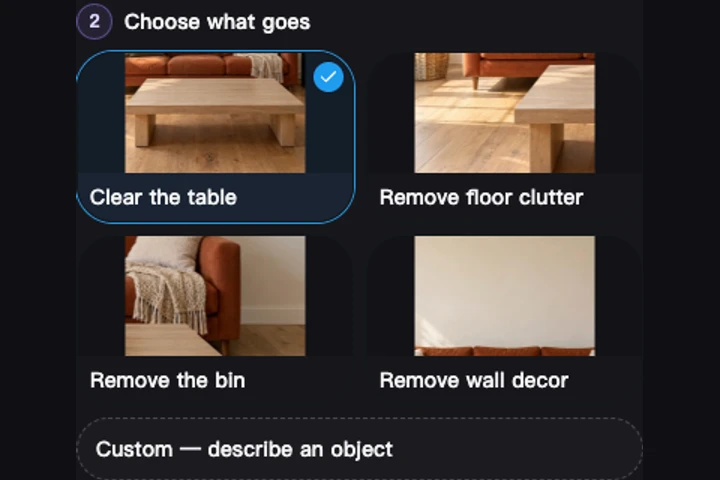
Choose Clear the table, floor clutter, a bin or wall decor, or choose Custom and name an object by its appearance and position. Add what should stay if the target is close to something important.
03
Sign in to generate at the cost shown on the button. Move the comparison slider across the result and inspect edges, textures and shadows. Download a useful version, or retry from the original with a more focused request.
A MORE CAREFUL CLEANUP
A convincing edit depends on both the removal and the scene around it. Use Remove Object from Photo for a focused change, then review the photograph at a useful zoom level.
“The yellow bag on the left; keep the shoes” is more useful than “clean this up.” In Custom, mention a handle, cable, shadow or reflection that belongs to the object if it is easy to miss. Ask for one specific change when the scene is crowded.
A small object against a plain wall is easier to judge than a large object covering a face, patterned rug or railing. The AI invents a plausible continuation of the visible surroundings. It cannot recover the real details that were hidden from the camera.
Check for leftover handles, floating shadows, repeated grain and bent straight lines. Compare nearby faces, lettering, furniture and colors too. Instructions ask the AI to preserve them, but they do not lock every pixel. Use a precise editor when a critical detail needs manual control.
Keep an unedited copy and use it for another attempt. Repeatedly editing a generated result can compound small changes. Make the next request narrower instead of asking for a general enhancement, especially when you want the photograph to remain recognizably yours.
New accounts get 10 free credits. Each 1K edit costs 5 credits, so you can try two object removals before buying credits. A retry also costs 5 credits.
The presets cover tabletop objects, loose floor clutter, waste bins and wall pictures. Use Custom for a different target, such as a bottle in the background or a bag beside a chair. Results vary with the size of the object, overlap and the amount of surrounding detail.
Choose Custom and describe the target by color, shape and position. For example, ask to remove a yellow bag while keeping the shoes beside it. The category presets can remove several matching items, so use a specific Custom description when only one item should go.
This tool uses visual presets and a written Custom instruction. There is no brush or mask editor on this page. For overlapping objects, hair-thin cables or pixel-level control, a manual selection editor may be a better fit.
The instructions ask the AI to keep the existing scene and fill only the space revealed by removal. Small changes to texture, edges, lighting or nearby subjects can still happen. Compare the full result with your original; the filled area is an estimate, not recovered background detail.
Each 1K generation costs 5 credits. A retry creates a new image and also costs 5 credits. You can upload, try the sample and choose a preset before signing in; sign-in is required when you generate. The button shows the cost before you start.
This tool generates in the 1K output class with an automatic aspect ratio. Returned dimensions can differ from the source, and original-resolution output is not guaranteed. Keep the original file for work where exact dimensions, framing or fine detail are essential.
For bystanders or a specific person, use Remove People from Photo. For a transparent cutout, use Transparent Background Generator. This page focuses on removing objects while rebuilding the surrounding scene; its output is not a transparent cutout.
Start with one distraction. New accounts get 10 free credits, enough for two edits. Compare the filled area and keep the version that works.
Upload your photo