Use separate boxes for the title and details
Give the headline a larger size and make the caption, date, or attribution smaller. Align each box independently so changes to the title leave the supporting text in place.
Put text on a photo, screenshot, or graphic. Drag captions and titles into place, style each text box, then download a full-size PNG or JPG.
Drop an image here
JPG, PNG or WebP · Up to 20 MB
Images stay on your device
Start with a photo or graphic you already have. These examples use the same text boxes, font choices, and outline controls available in the editor.
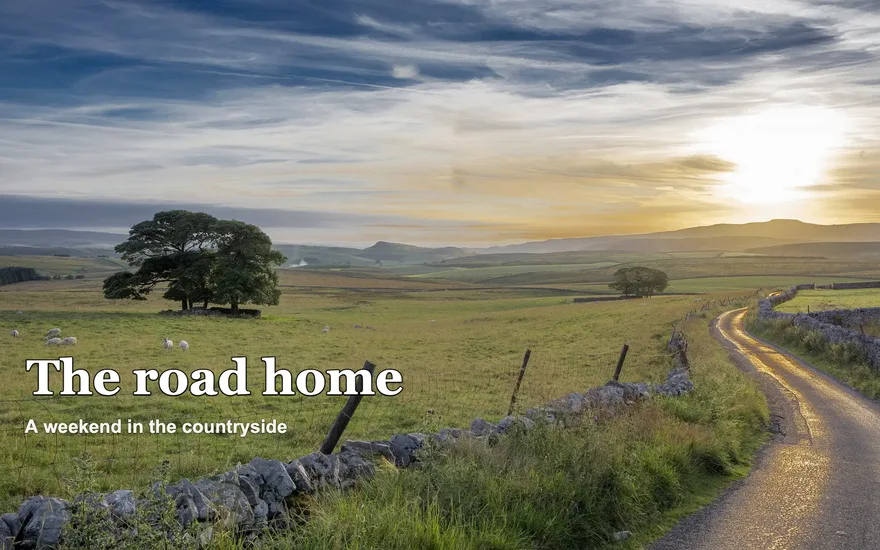
Give a landscape a short title and put a smaller caption underneath for the trip, date, or location. A serif title works well over the quieter part of this photo.

Break a short headline into two lines, then use a separate text box for an episode number. A dark outline keeps the title legible against a detailed background.
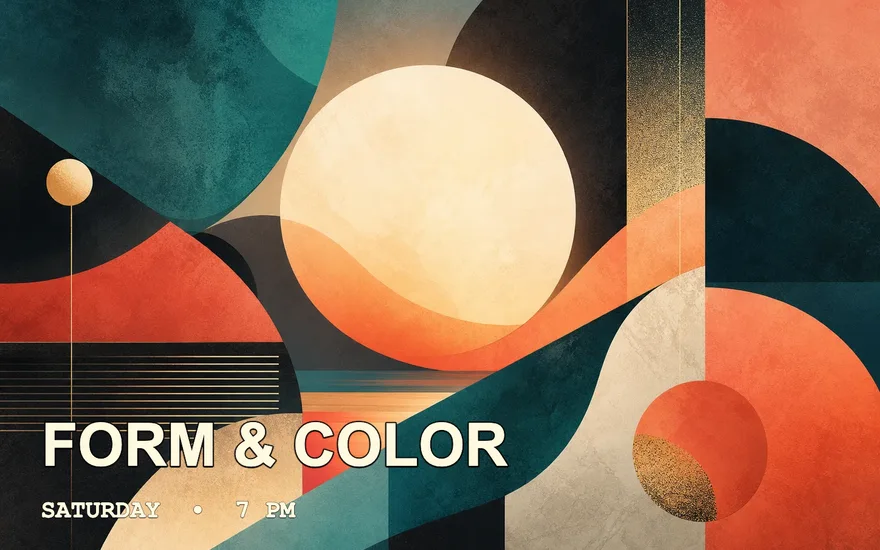
Set the event name in a large font, then place the date, time, or venue beneath it. Separate boxes let you adjust each line without moving the others.
Select a JPG, PNG, or WebP from your device, or drop it into the editor. To see how text layers work before using your own image, choose Try a sample.
Replace the sample text with your own words. Change the font, size, color, or alignment and drag the text box on the preview. Use Add text to place another headline, caption, or credit independently.
Choose PNG or JPG and select Download. The text is saved as part of the new image, so it stays in place when you share the file, add it to a presentation, or open it on another device.
Start by placing the text where the photo has room for it. Sky, walls, and open space often give a caption a cleaner background and keep it away from the subject.
Give the headline a larger size and make the caption, date, or attribution smaller. Align each box independently so changes to the title leave the supporting text in place.
Try light text on a dark area or dark text on a light area. Turn on Outline when white or pale lettering crosses a bright patch. Check the preview at the size people will actually see it.
Social previews can crop the outside of a photo. Keep key words and credits away from the edges, and keep a caption clear of faces, product details, or anything the viewer needs to see.
Put a photographer name, brand handle, or copyright line in its own box. A smaller font and a consistent position can keep the credit visible without obscuring the image.
Both downloads keep the original pixel width and height. The right format depends on what is in the image and where you plan to use it.
Screenshots, graphics, and transparent images
Choose PNG for crisp interface labels, small type on a graphic, or an image with a transparent background. Transparent areas stay transparent in the exported file.
Photos and everyday sharing
Choose JPG for an opaque photo you plan to send or post. Any transparent areas in the original are filled with white. You can open a WebP in the editor and save the result in either format.
Yes. You can open an image, style multiple text boxes, and download the result for free. The editor does not add a Nano Banana watermark.
Yes. Use Add text to create up to 12 independently movable text boxes. Press Enter for a new line within a box. Longer text wraps automatically, and left, center, or right alignment controls how those lines sit inside the box.
The editor accepts JPG, PNG, and WebP files up to 20 MB and 24 megapixels, with a maximum of 12,000 pixels on either side. You can download the result as PNG or JPG.
Yes. The output keeps the original image width and height in pixels. An image that opens at 2400 × 1600 pixels still downloads at 2400 × 1600, even when the editor shows a smaller preview.
Yes. Open the PNG, place your text, and choose PNG when you download. The checkerboard in the editor represents transparency. Choose JPG to fill those areas with white.
Yes. Choose a photo from your device in the browser, enter your text, and drag the box into place with your finger. On desktop you can also focus a text box and move it with the arrow keys.
Photo selection, text editing, and export run in your browser. Your selected photo and caption text stay on your device.
The downloaded image contains the text as pixels. To make changes, return to the open editor, adjust the original text layers, and download a new copy.
Open a photo from your device or try the sample to see how the text boxes work.